Professional USB microscope · 3D Printing
USB Microscope for 3D Printing Inspection and Layer Analysis
Compare layer lines, surface finish, edge quality, and visible defects while tuning print settings or checking finished parts.
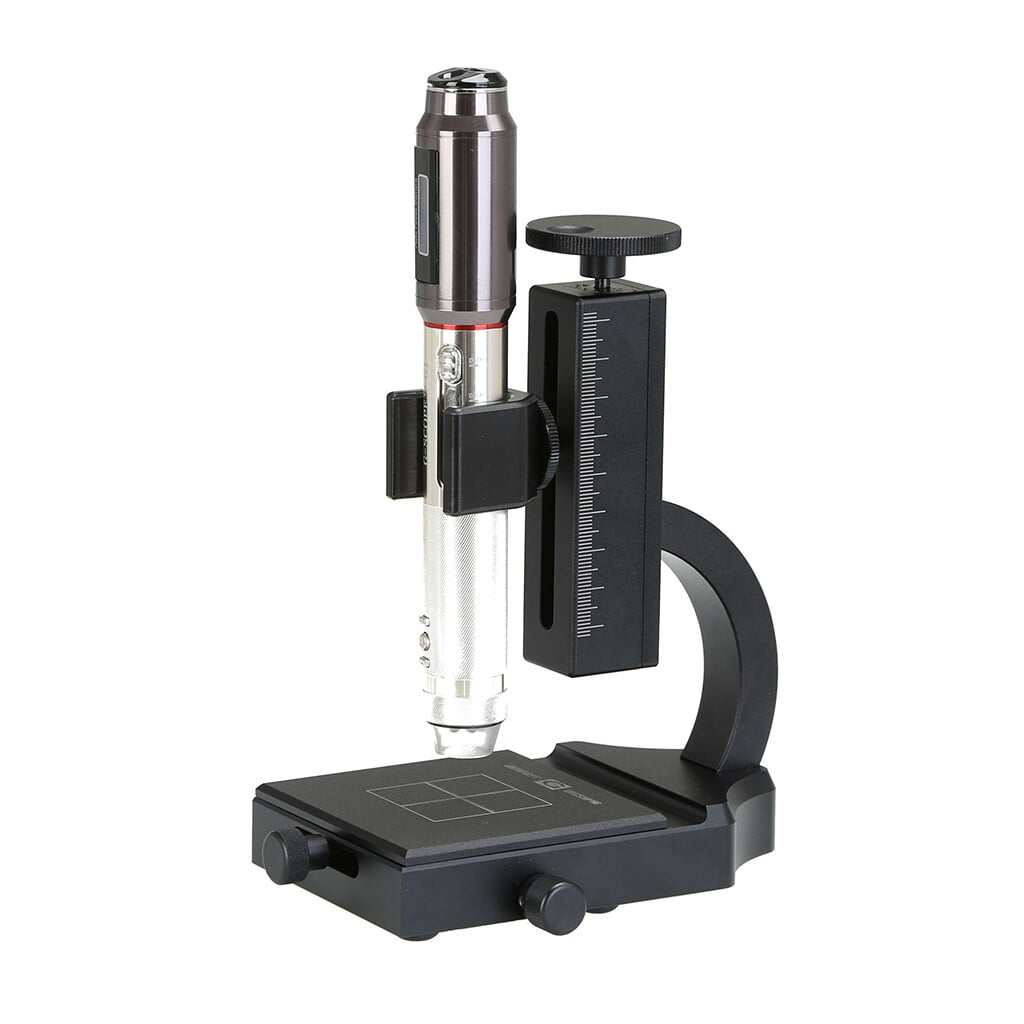
- Four quick magnification levels40x, 100x, 180x and 250x with the general inspection end-cap
- 3Pi narrow-tip end-cap100x access to small or recessed areas that remain in direct line of sight
- Quality optics, autofocus + Full HDCorning® Varioptic® liquid lens, photos and 30fps video
- Professional European supportShips from Spain with a two-year warranty
Overview
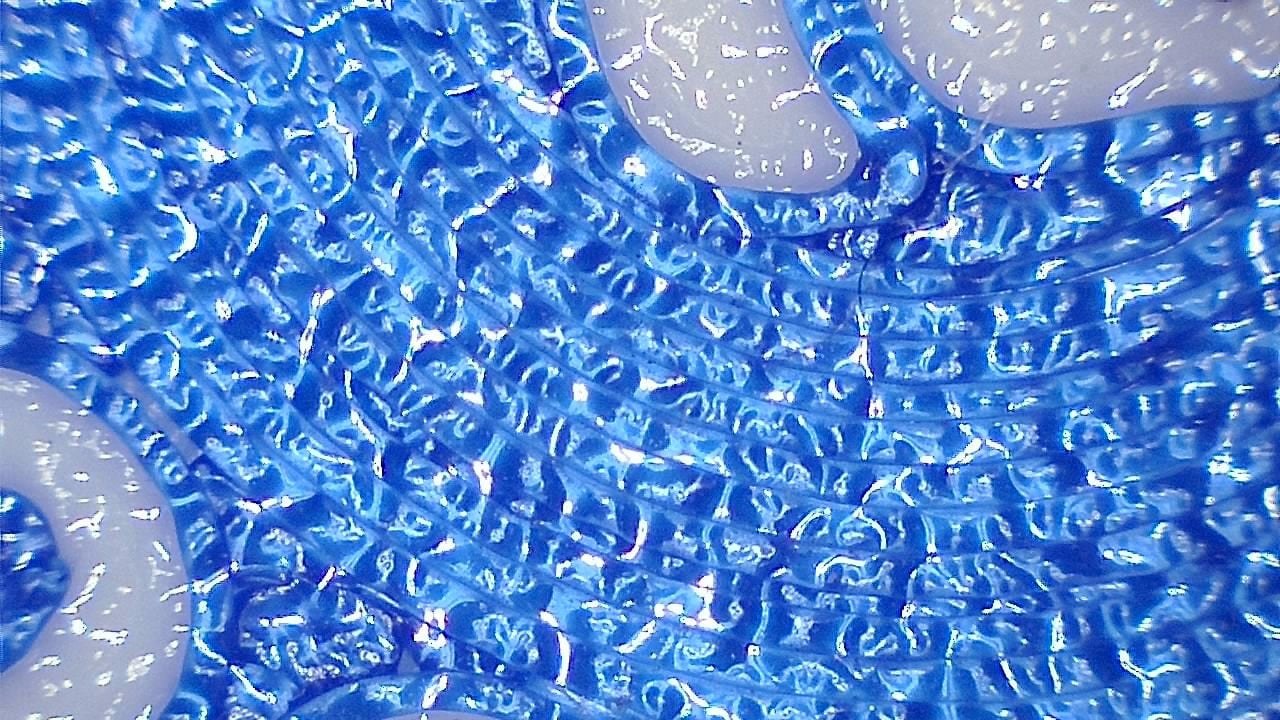
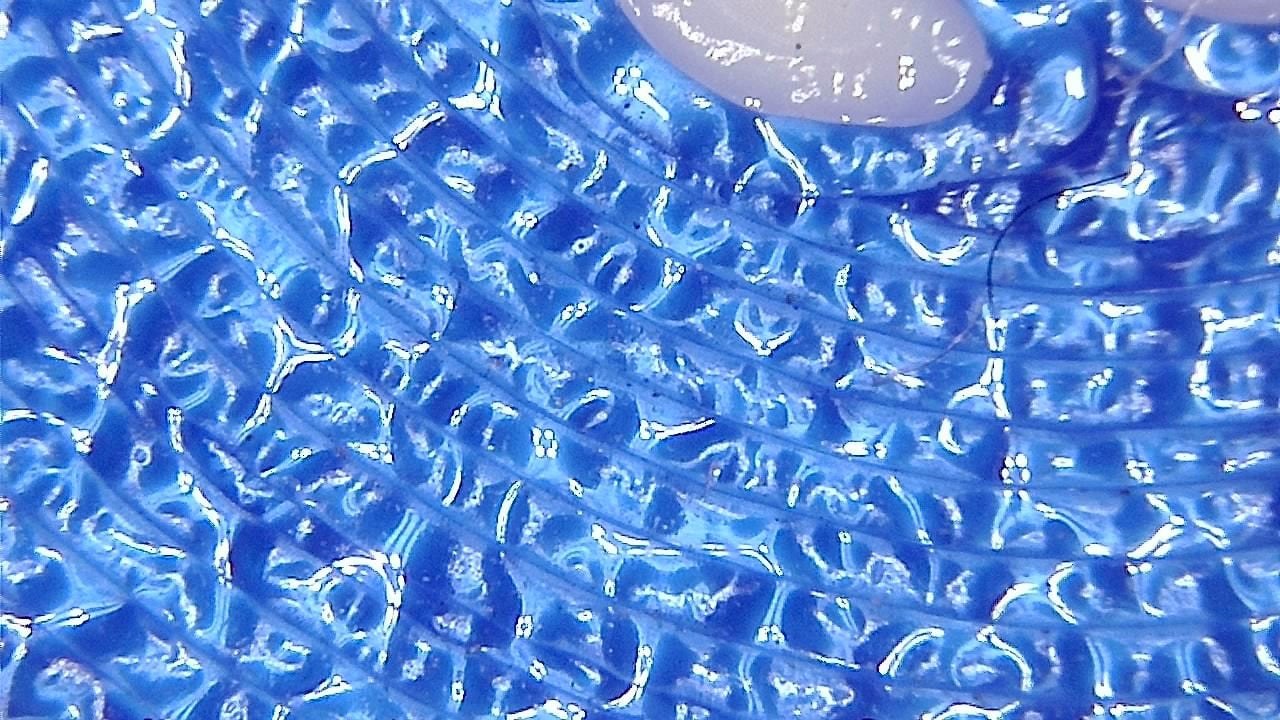
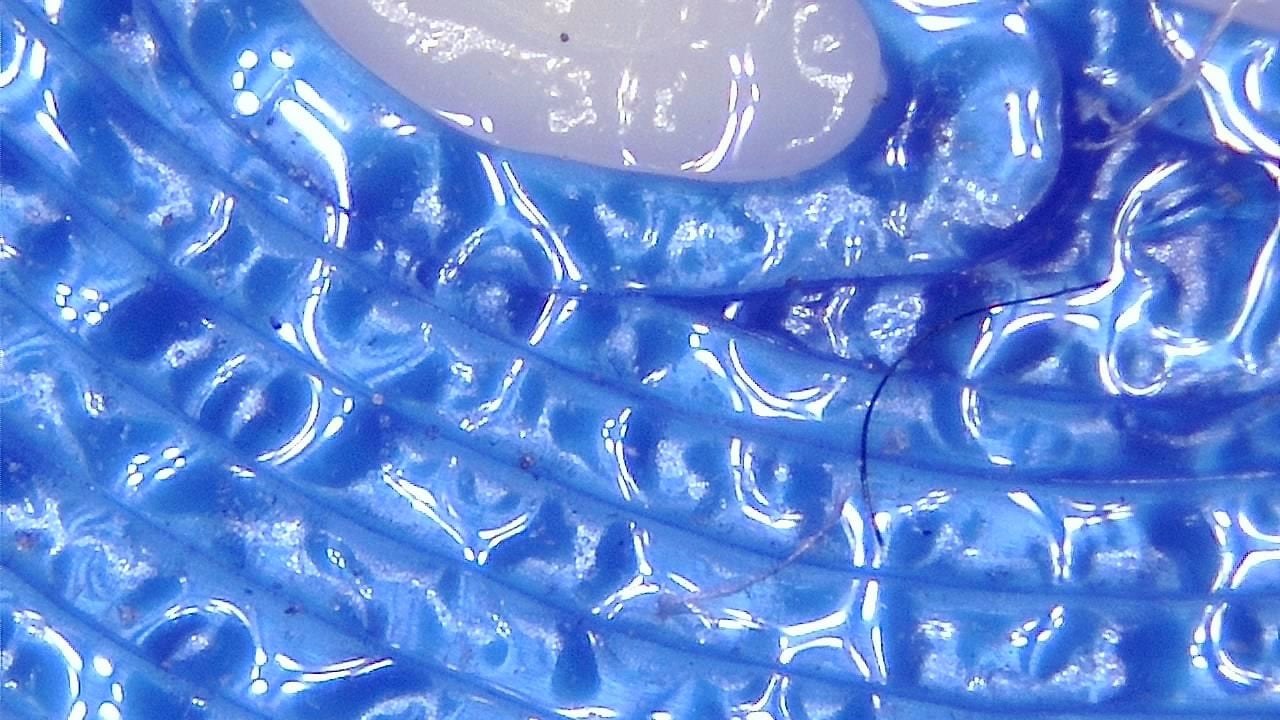
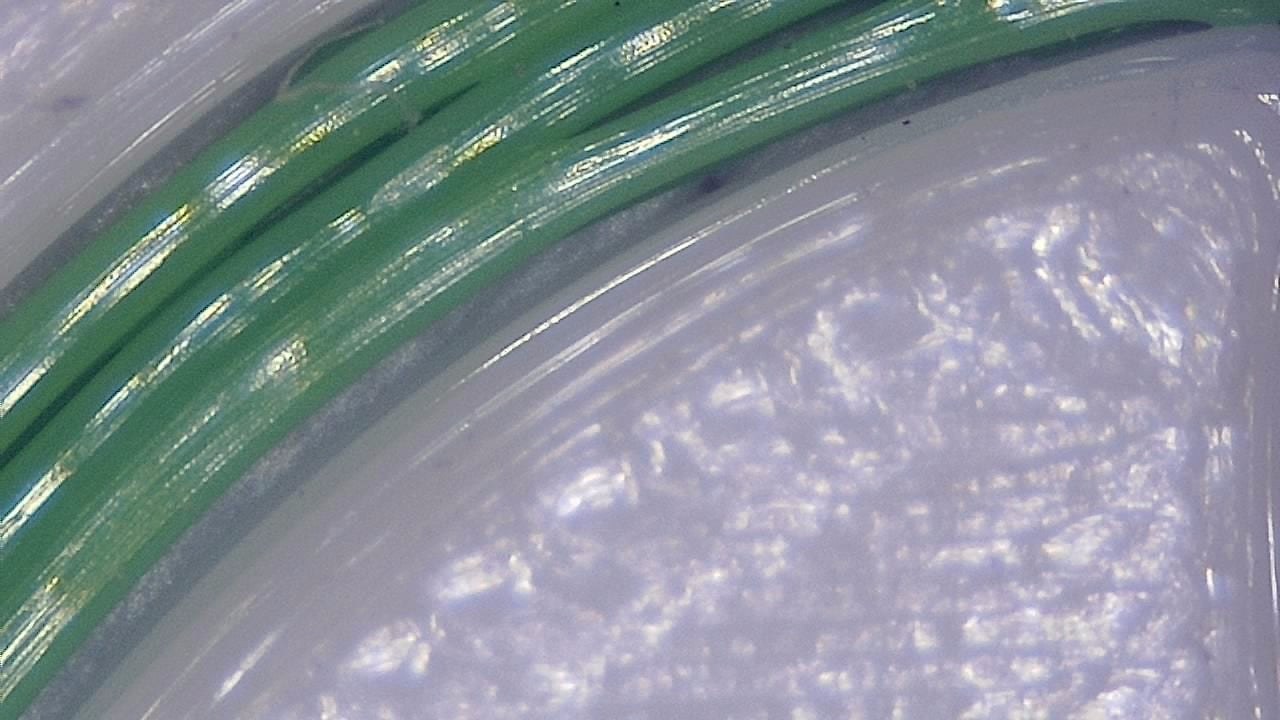
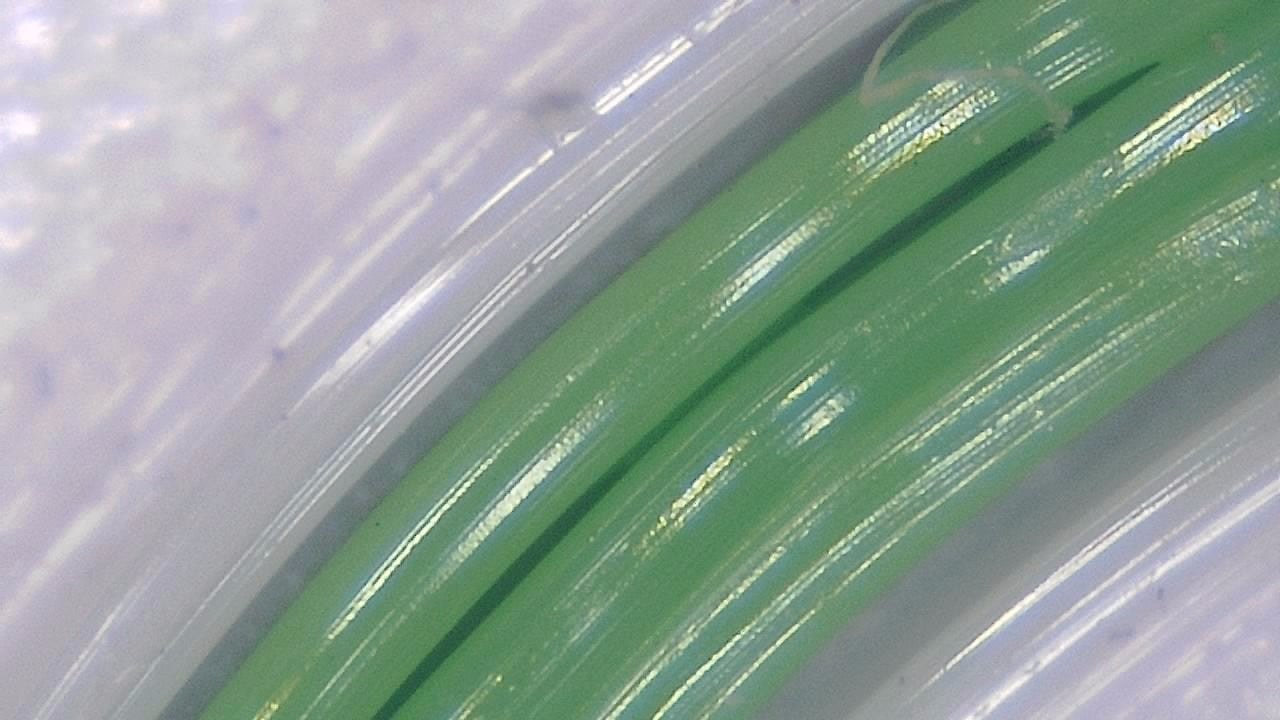
Both FDM and resin printing benefit from detailed surface inspection. Smart G-Scope can document visible layer lines, bubbles, deformation, residues, and surface differences for process review.
For prototype makers and serial production, documenting and comparing surface quality across batches or print settings is essential to optimize processes and meet customer specifications.
It can also document visible surface differences in composite materials and additive filaments; internal distribution and material homogeneity require appropriate material-analysis methods.
See it in action
Extended depth of field, in action
See how EDOF brings more of an uneven surface into focus with compatible Smart G-Scope hardware.

Recommended Smart G-Scope setup
- Use a stable stand for repeatable images of the same part area.
- Control lighting to reveal layer ridges, resin edges, bubbles, or surface contamination.
- Capture before/after images when changing temperature, speed, support, curing, or finishing steps.
What you can observe
- FDM layer lines, first-layer surface texture, stringing, blobs, and visible extrusion artifacts.
- Resin print edges, surface defects, bubbles, residues, and finishing marks.
- Differences between materials, nozzles, print settings, or post-processing workflows.
Typical workflow
- 1Select a repeatable inspection point on the print.
- 2Capture baseline images before changing settings or finishing steps.
- 3Compare images after parameter changes to document visible improvements or recurring defects.
- 4Save images with material, printer, and parameter notes for process learning.
Key benefits
- Inspection of layer quality and surface finish
- Detection of bubbles, delamination, and warping
- Comparison of printing parameters
- Verification of composite materials and additives
- Documentation for QC and customers
Best for
- Print farms, prototyping teams, makerspaces, dental or model labs, and education.
- Visual quality control before finishing, assembly, or customer delivery.
Not ideal for
- Internal void analysis or mechanical strength validation without CT, sectioning, or mechanical testing.
Image gallery
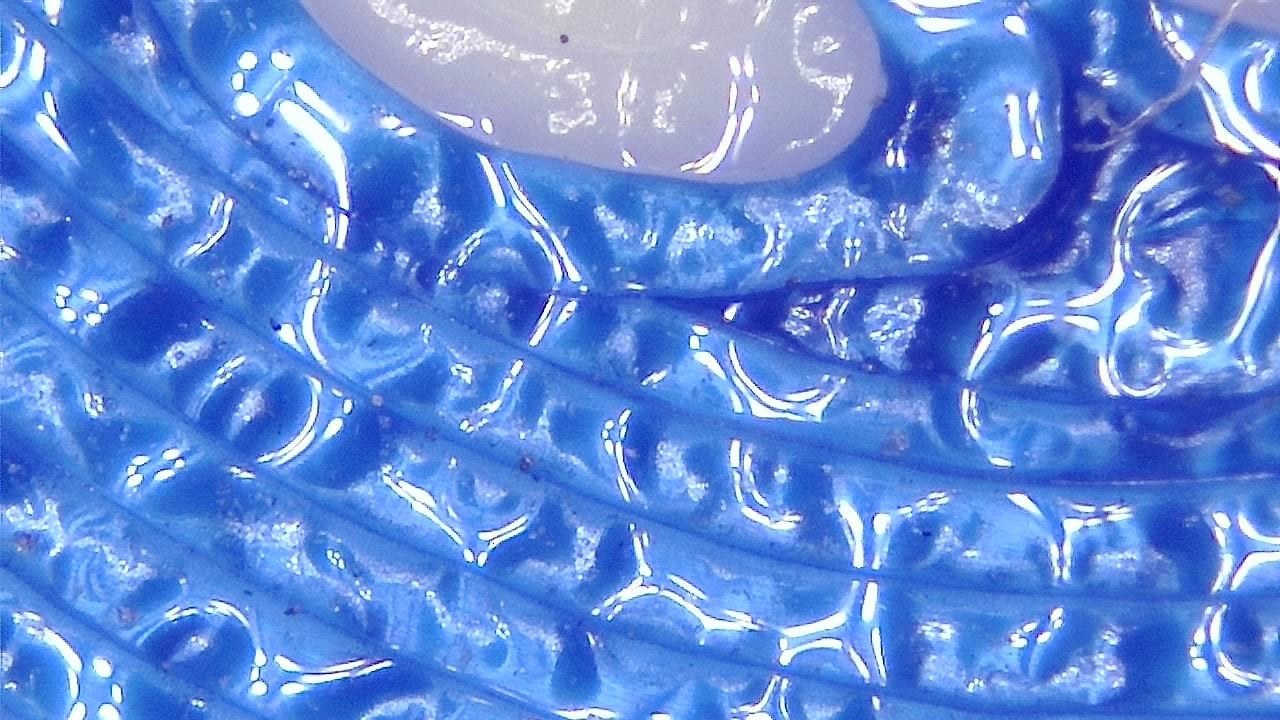
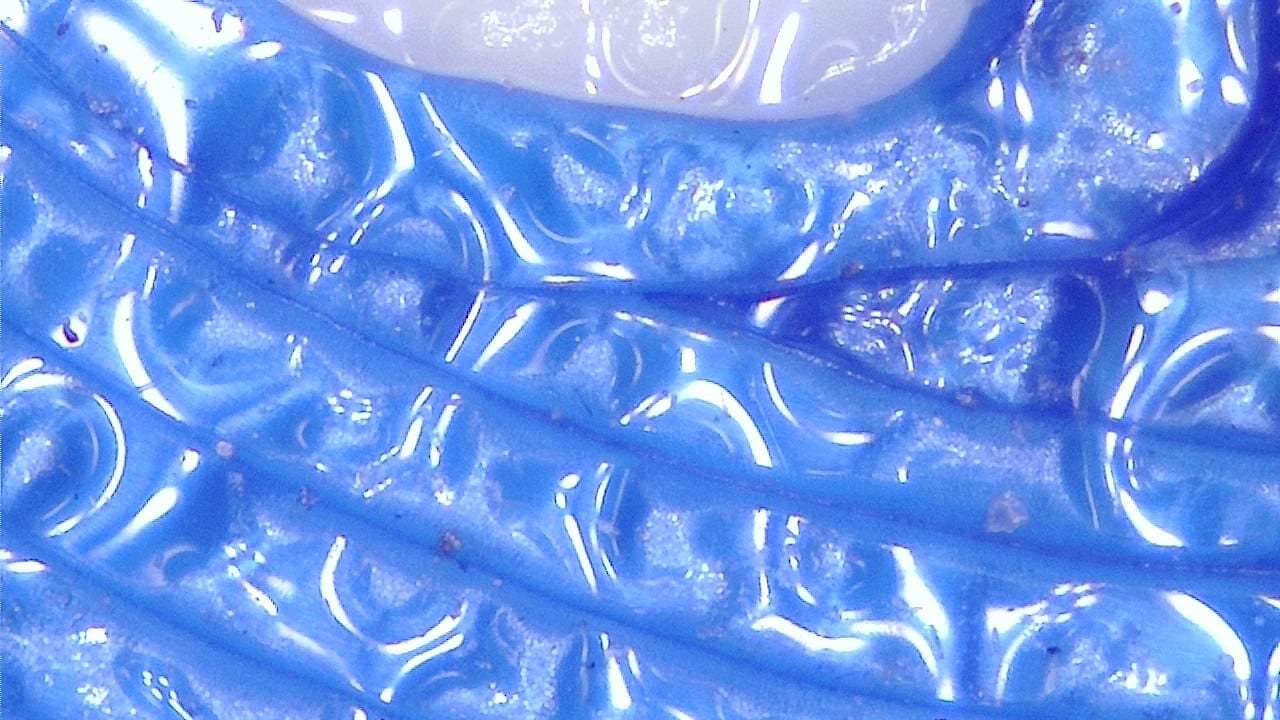
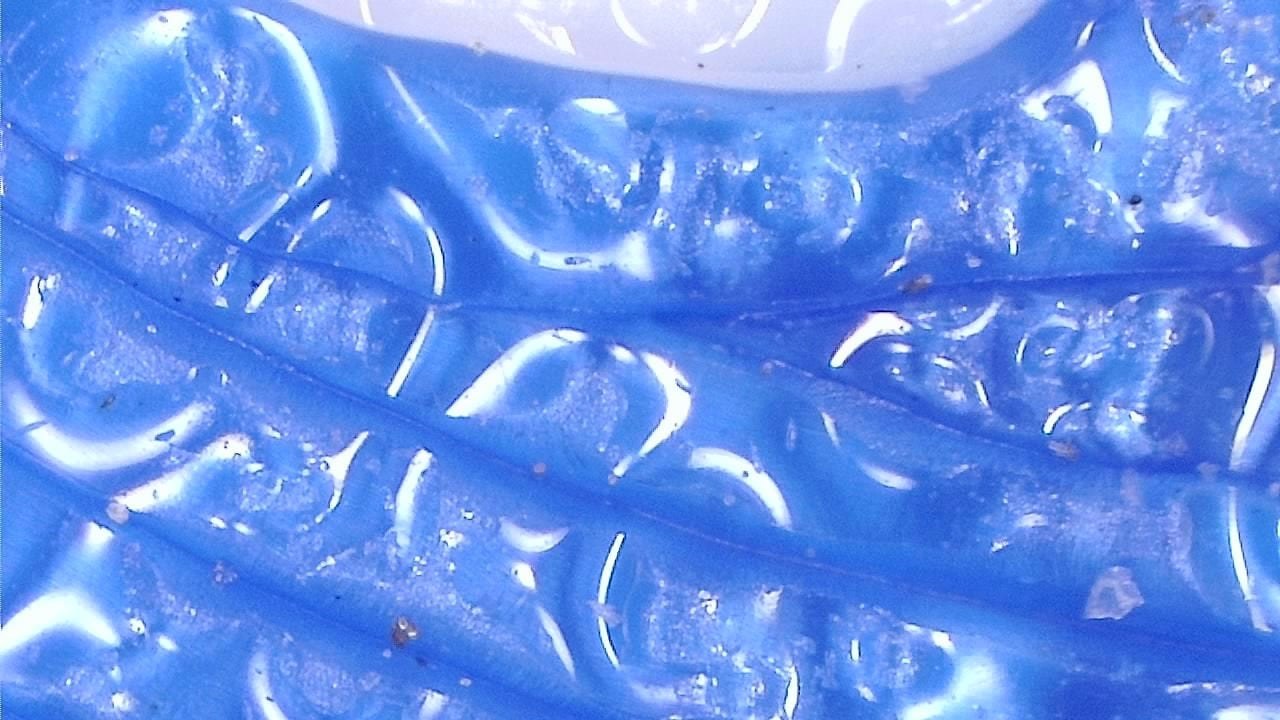
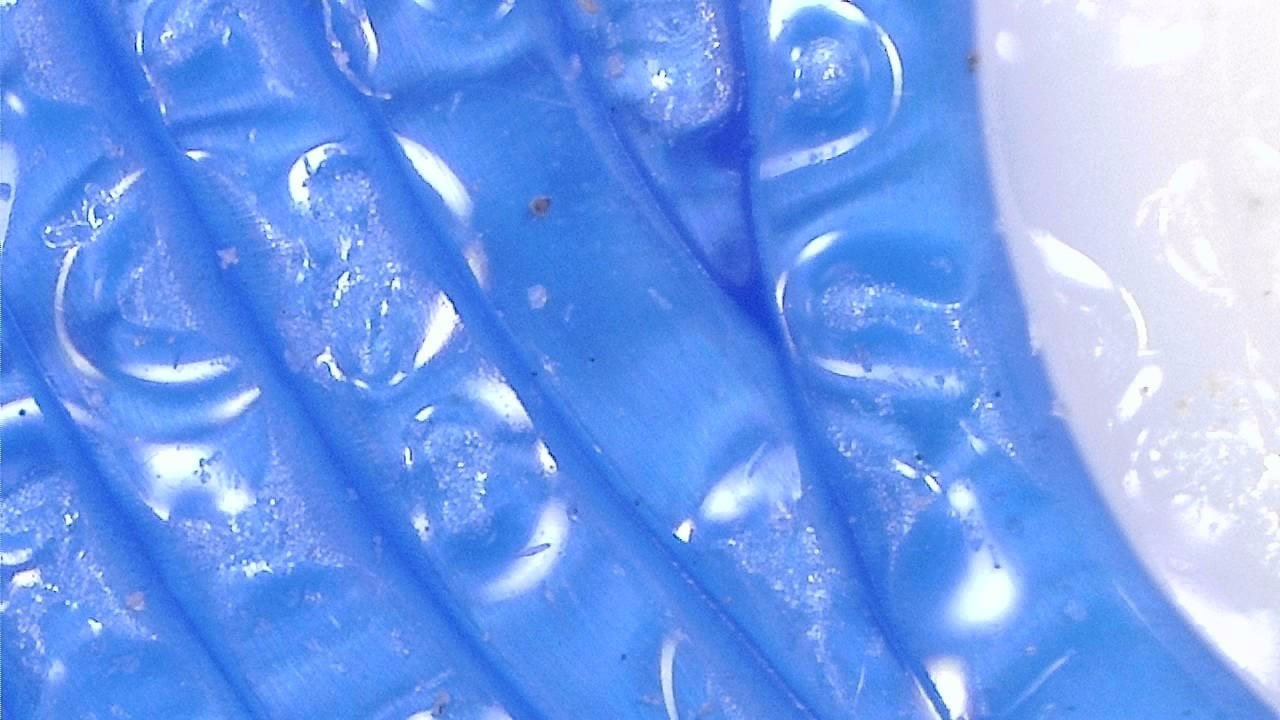
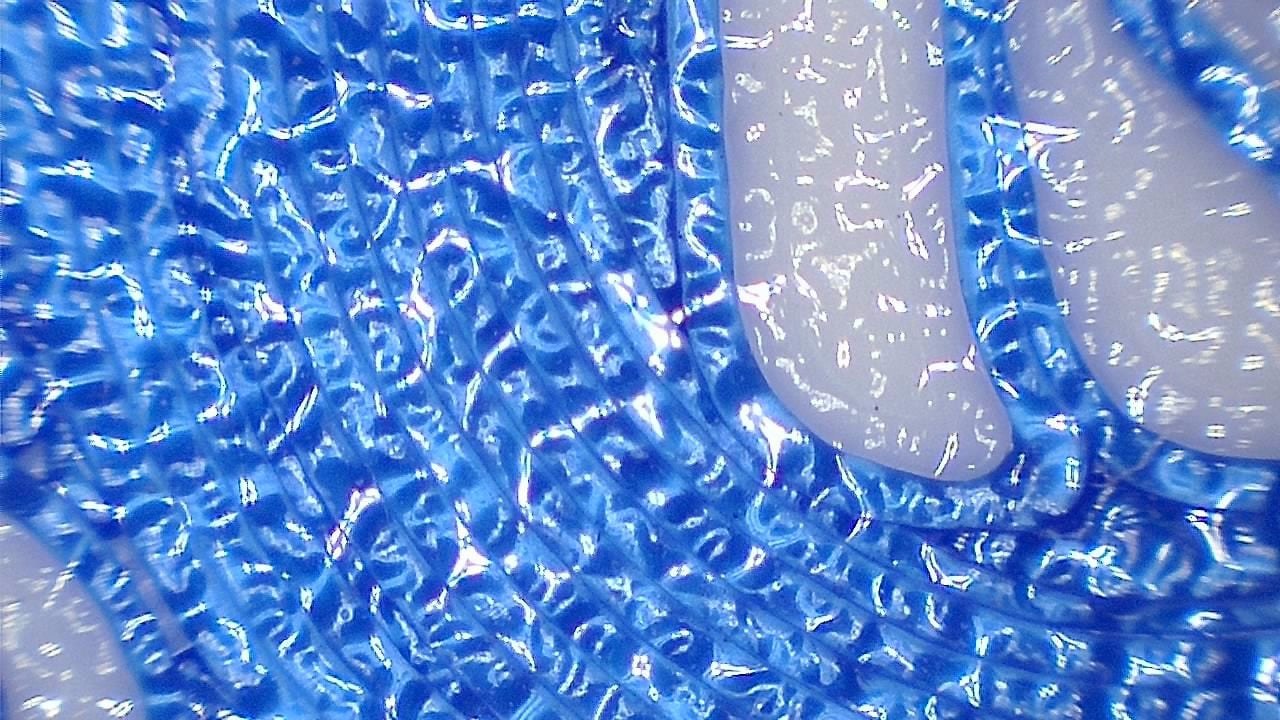
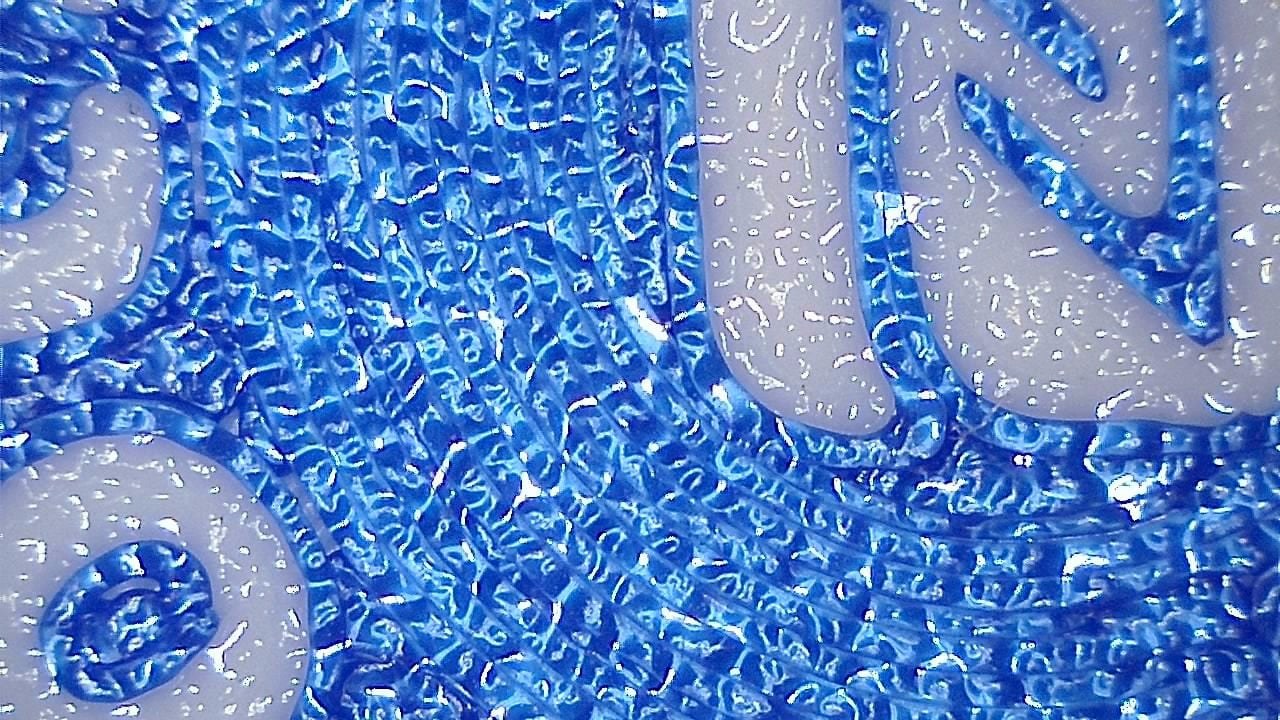
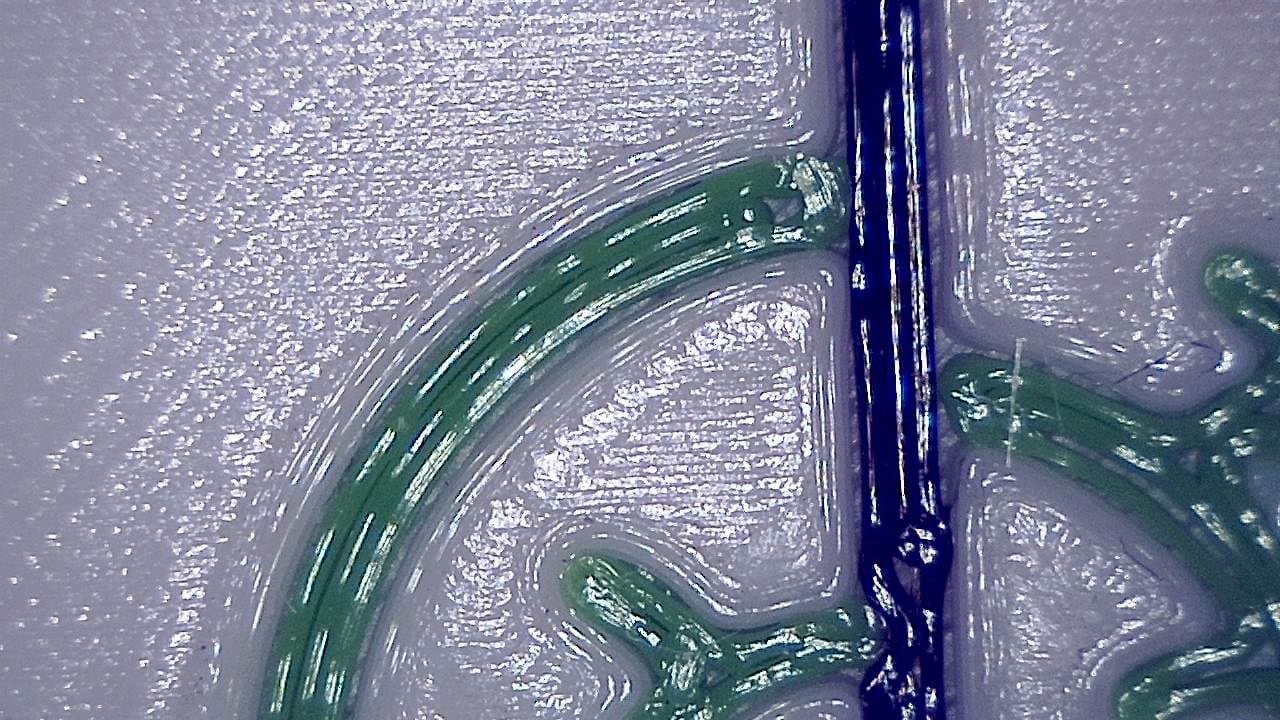
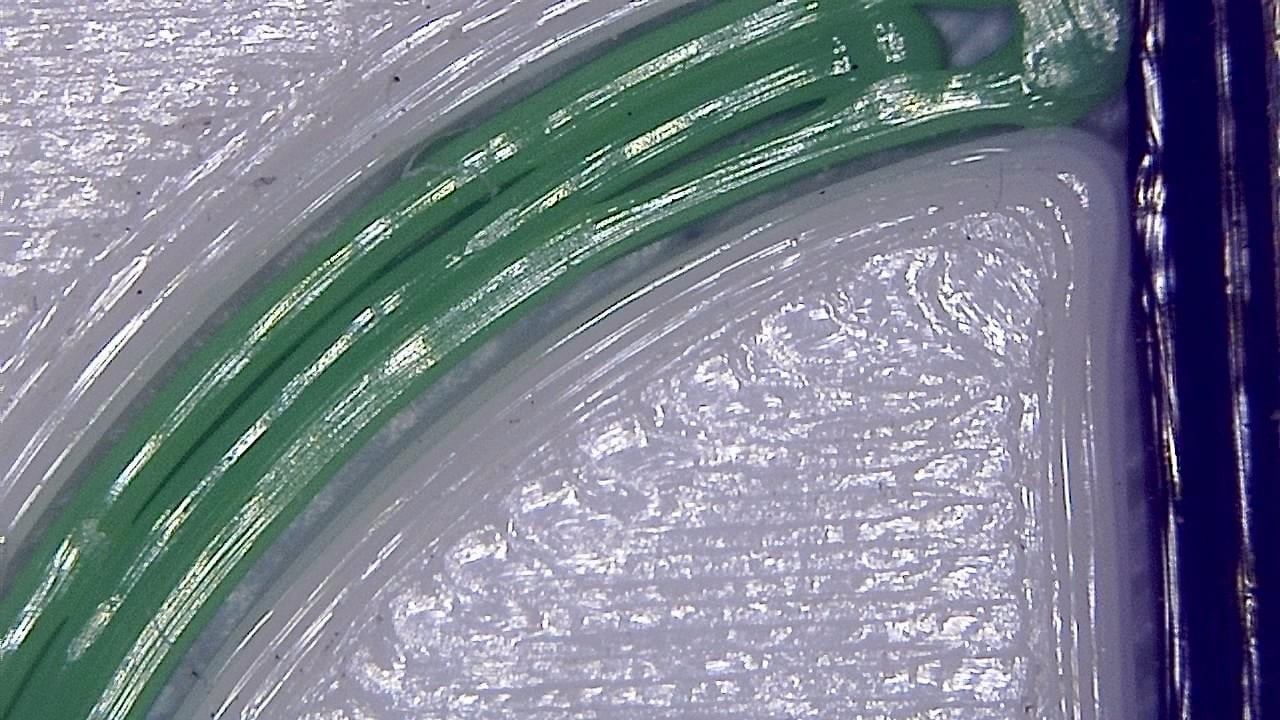
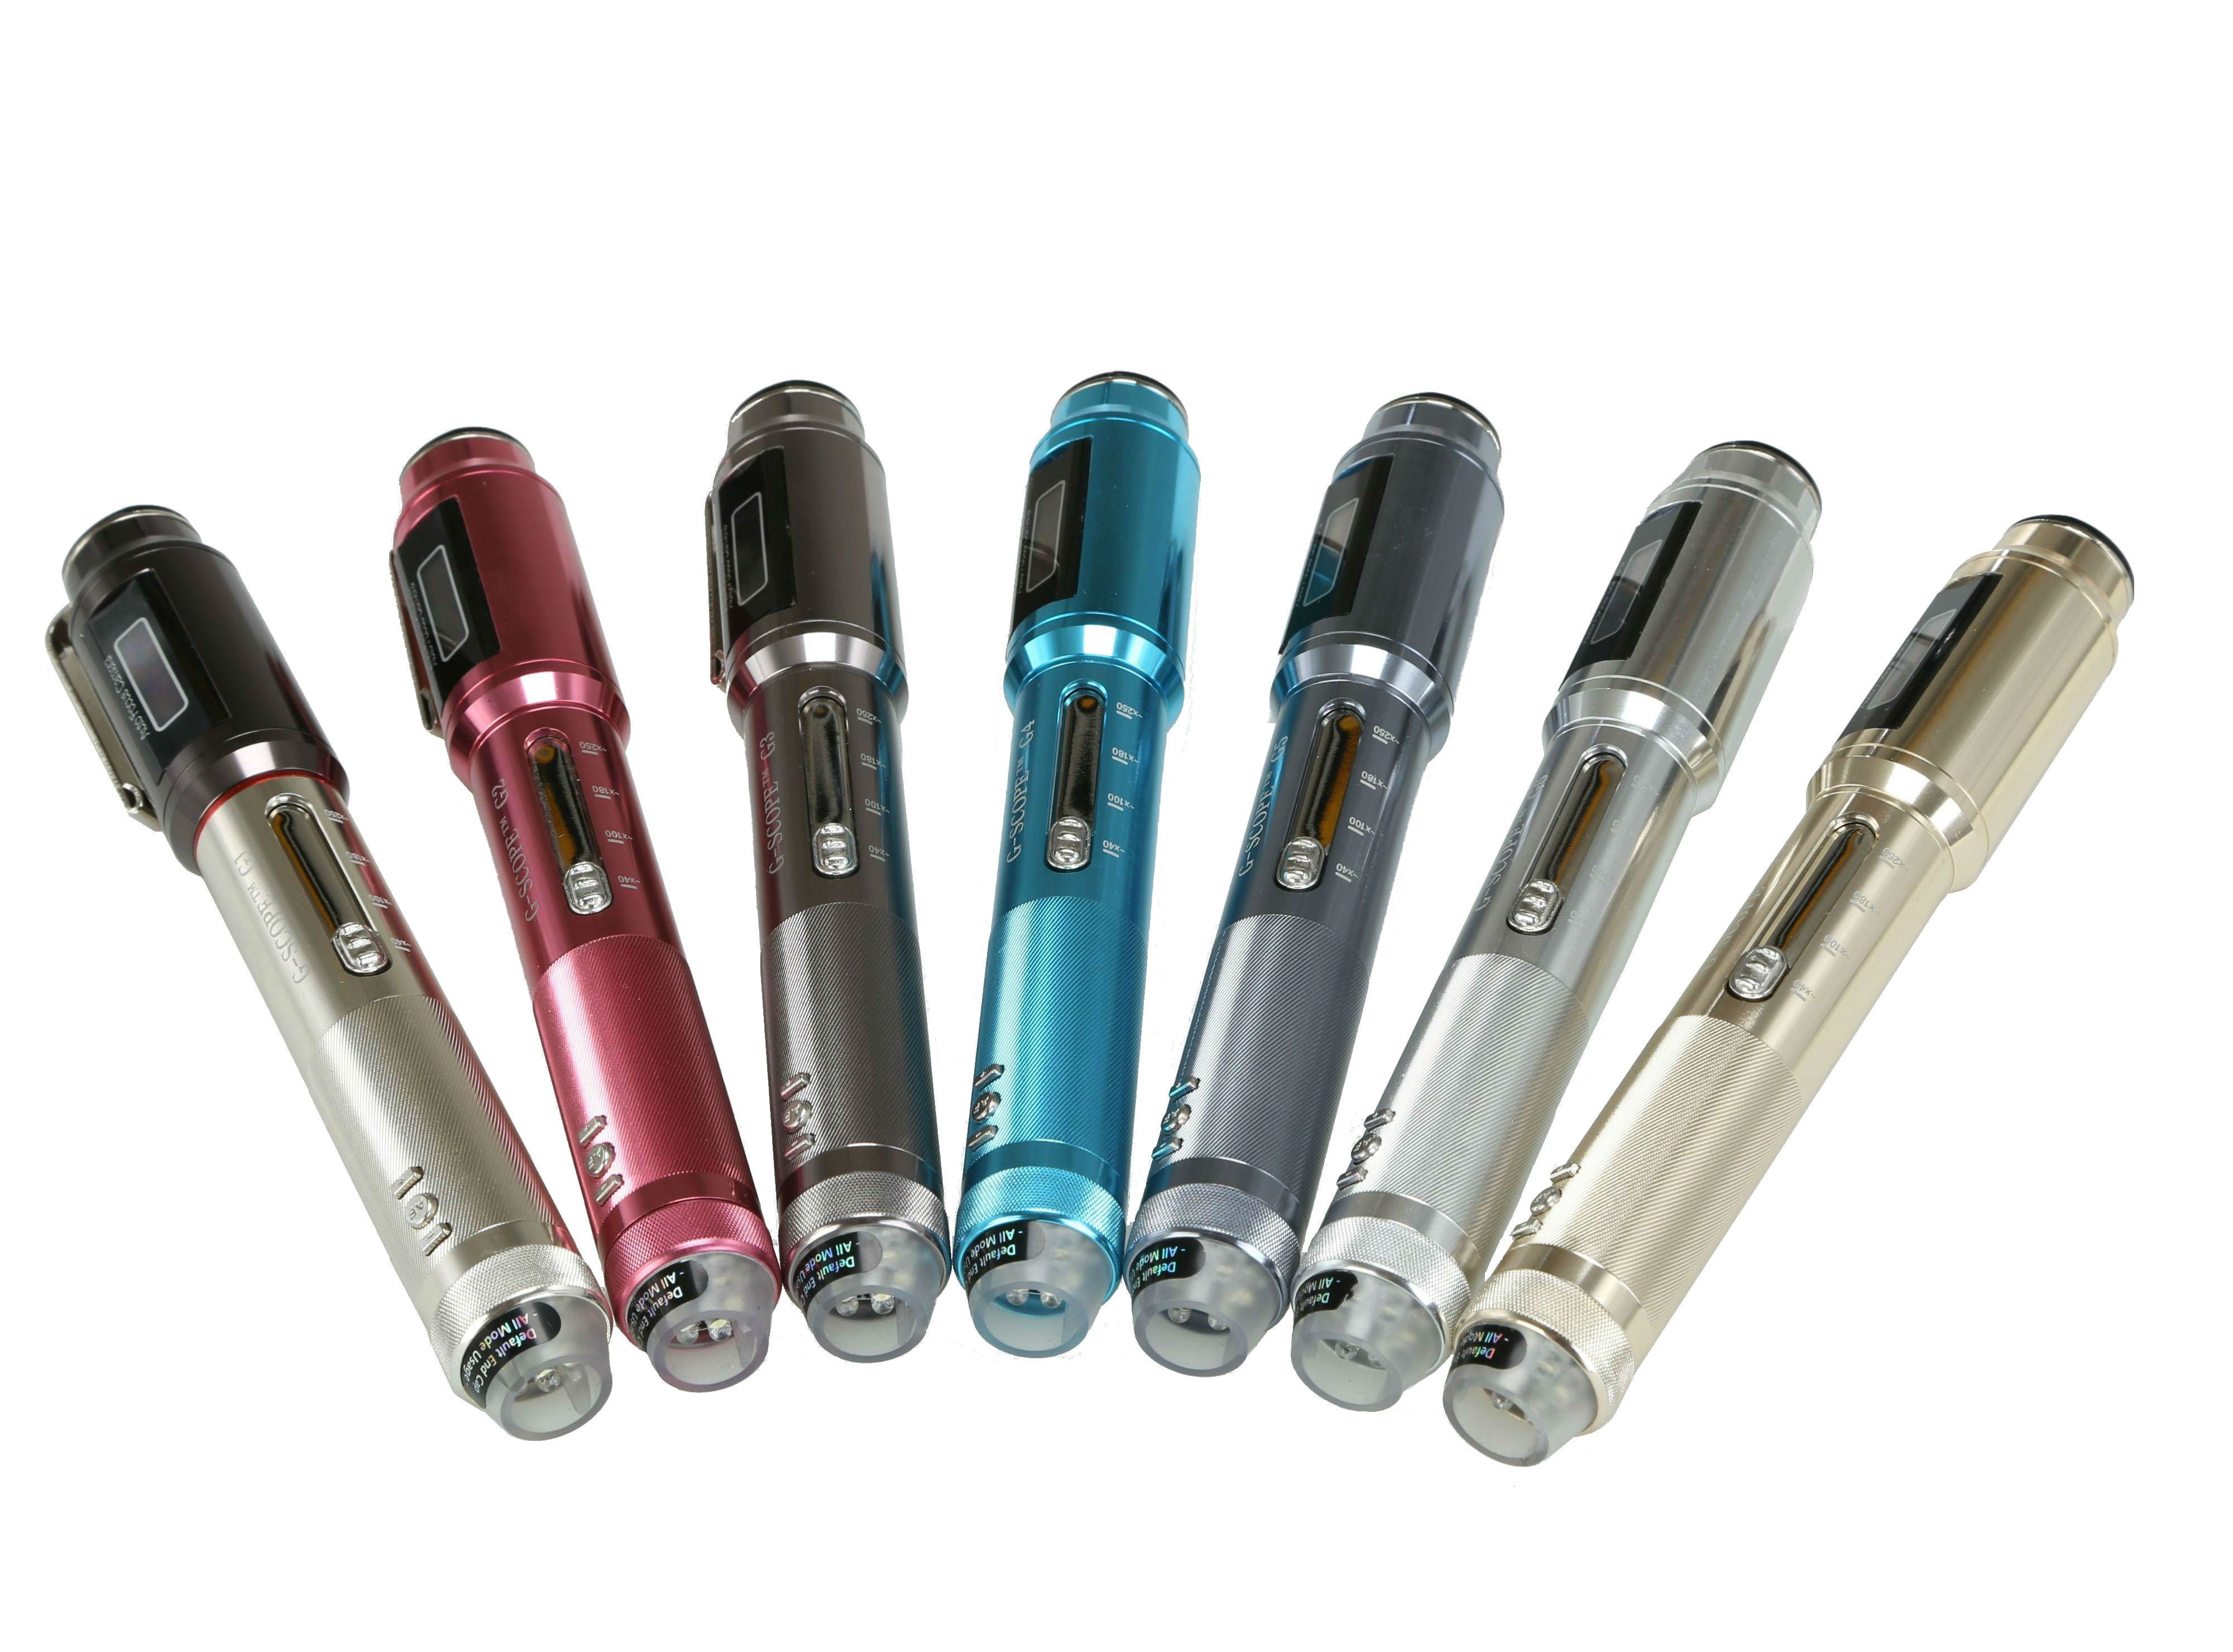
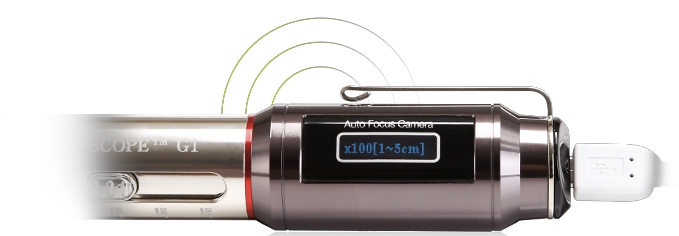
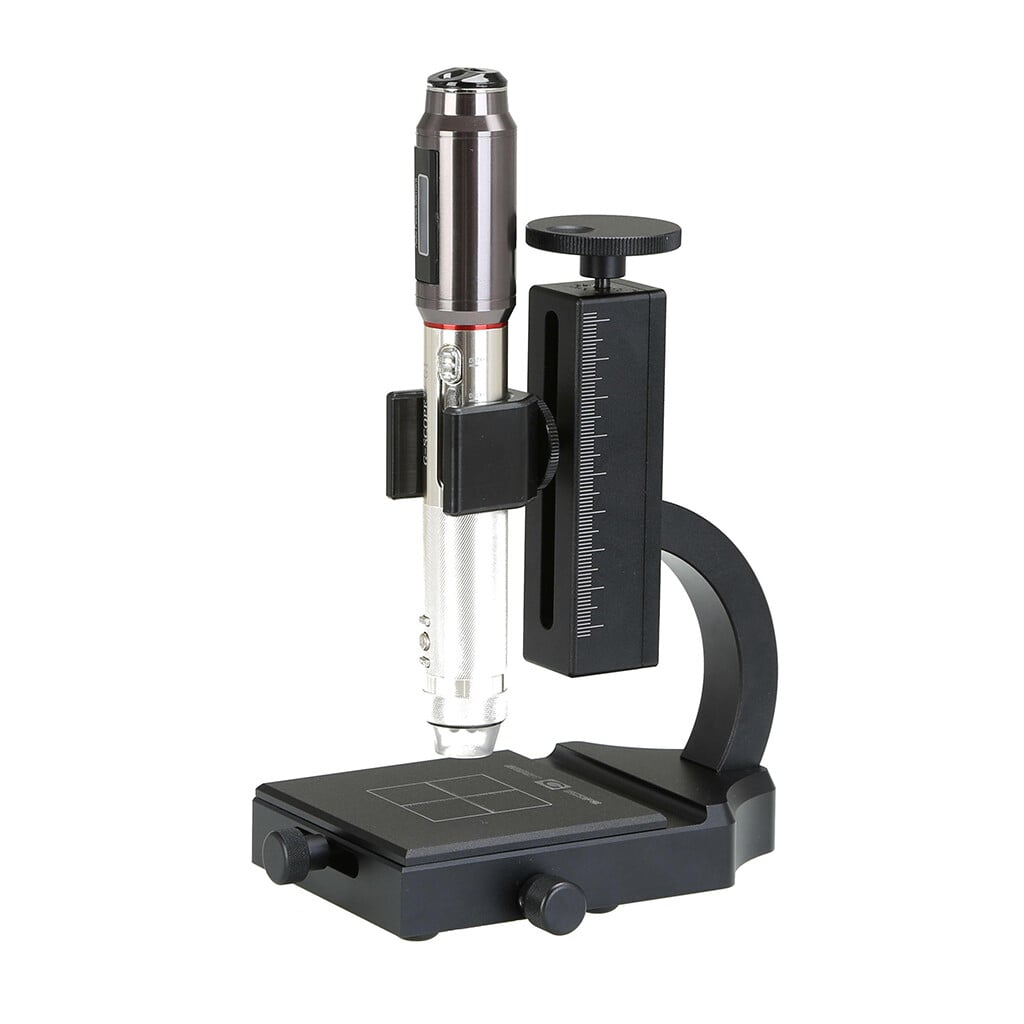
Click any image to enlarge
Practical examples
FDM parameter optimization
A professional maker compares surfaces printed with different temperatures and speeds. Smart G-Scope images document which settings produce fewer visible surface artifacts; mechanical strength is evaluated separately.
Quality control in dental production
A dental lab producing resin surgical guides uses the microscope to verify edge precision and absence of defects before delivering each piece to the dentist.
Limitations & best practices
- Internal structural analysis requires other techniques (CT, mechanical testing).
- Clean resin parts from residues before inspection.
- Consider material transparency/opacity when adjusting illumination.
Frequently asked questions
Can Smart G-Scope show 3D print layer lines?
Yes. With stable positioning and suitable lighting, it can document visible layer lines, surface texture, edge quality, and defects for comparison.
Can it replace material testing?
No. It supports visual inspection and documentation. Internal structure and strength still require suitable testing methods.